

Key Takeaways
- Settling into a new home during the cold months requires immediate attention to heating systems, insulation, and plumbing to prevent costly damage
- Scheduling a furnace inspection within the first week helps catch issues before freezing temperatures expose them
- Sealing drafts around windows, doors, and outlets can dramatically reduce heating bills and improve comfort from day one
- Protecting pipes from freezing is one of the most critical seasonal tasks, as repair and water damage costs can escalate quickly
- Clearing gutters, checking the roof, and managing snow around the foundation prevent ice dams and water intrusion
- Creating an emergency kit tailored to cold-weather power outages gives new homeowners peace of mind during storms
- Testing smoke and carbon monoxide detectors matters more in winter when heating appliances run constantly
Relocating to a new house in the middle of January or February is no small feat. Boxes are stacked in every corner, the thermostat is doing overtime, and you are still figuring out which light switch controls what. It is tempting to collapse on the couch and deal with maintenance “later.” But later, in cold weather, can mean a burst pipe at two in the morning or a furnace that quits on the coldest night of the year.
The first few weeks in a new home are a critical window. You do not yet know the quirks of the house, the age of the appliances, or whether the previous owners actually maintained the heating system the way they claimed. Taking a structured approach to post-move care now saves money, prevents emergencies, and makes the house feel genuinely yours faster.
This guide walks you through the exact steps to protect your investment and stay warm, dry, and comfortable through the rest of the season. Think of it as a weekend-by-weekend plan rather than an overwhelming list.
Start With a Full Heating System Checkup
Before anything else, make sure the furnace, boiler, or heat pump is working safely and efficiently. If the previous owners provided service records, read through them. If they did not, assume nothing. Schedule a professional HVAC inspection within your first week, even if the system seems to be running fine. A technician will clean burners, check the heat exchanger for cracks, test carbon monoxide output, and confirm the thermostat is calibrated correctly.
While you are waiting for the appointment, change the air filter yourself. A clogged filter forces the system to work harder, drives up energy bills, and can shorten the lifespan of the unit. Buy a pack of two or three filters at once so you have replacements on hand for the rest of winter.
What to Ask the HVAC Technician
When the technician arrives, use the visit as a learning opportunity. Walk through the basement or utility room with them and ask questions. Some worth bringing up:
- How old is the system and what is its expected remaining life?
- Are there any parts showing early signs of wear?
- What is the ideal filter type and replacement interval for this unit?
- Is the ductwork sealed properly, and are any rooms underserved?
- Should a humidifier be added or serviced?
Write the answers down. You will refer back to them when planning upgrades or budgeting for a replacement in the future.
How Do You Stop Drafts From Stealing Your Heat?
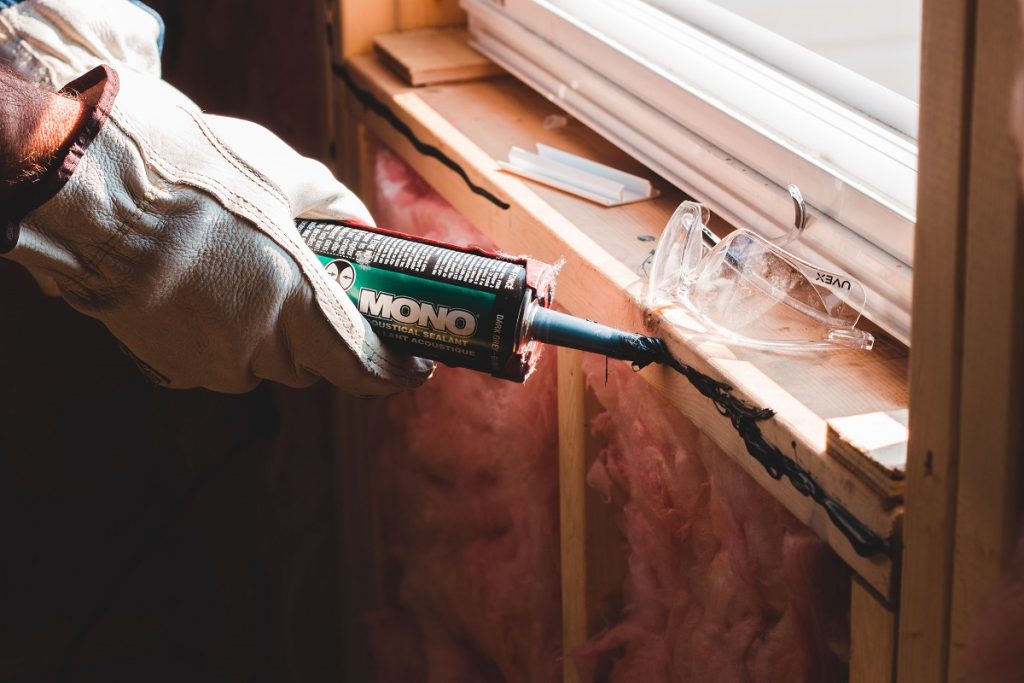
Once the heating system is dialed in, the next priority is keeping that warm air inside. Older homes especially tend to leak heat around windows, doors, outlets, and attic hatches. Start with a simple walk-through on a windy day. Hold the back of your hand near window frames, baseboards, and electrical outlets on exterior walls. Where you feel cold air, you have a draft.
Weatherstripping and caulk are inexpensive fixes that pay off almost immediately. A tube of caulk costs a few dollars and can seal gaps around window trim in minutes. For doors, add door sweeps or replace worn weatherstripping along the jamb. Foam gaskets behind outlet and switch plates on exterior walls are another five-minute project that most new homeowners overlook.
If windows are old and single-pane, consider temporary window film kits. They shrink tight with a hair dryer and create an insulating air pocket. It is not pretty, but on a bitterly cold night you will appreciate every bit of help. For a deeper look at organizing these early priorities, a family moving checklist can keep tasks from slipping through the cracks during the chaotic first month.
Protect the Plumbing Before It Freezes
Frozen pipes are the single most expensive avoidable disaster in cold weather. According to Consumer Reports, a burst pipe can set you back around $500 in repairs plus up to $3,000 in related damage. That is a weekend project you do not want on your calendar.
Walk the entire house and identify any pipes running through unheated spaces: crawl spaces, garages, attics, exterior walls, and under kitchen sinks on outside walls. Wrap these pipes with foam pipe insulation, which slips on in seconds and costs only a few dollars per length. For extra-vulnerable sections, heat tape with a built-in thermostat adds another layer of protection.
Here are the basics every new homeowner should check in the first few days:
- Locate the main water shutoff valve and test that it actually turns
- Disconnect any garden hoses still attached to exterior spigots
- Shut off the valves that supply outdoor faucets, if present
- Open cabinet doors under sinks on cold nights so warm air can circulate
- Keep a slow drip running from the faucet farthest from the main line during deep freezes
When to Leave the Heat On While Away
If you travel for the holidays or a work trip, do not turn the thermostat off to save money. Acrisure Insurance notes that keeping indoor temperatures no lower than 55 degrees Fahrenheit is one of the simplest ways to prevent frozen pipes when the home is unoccupied. Set a smart thermostat if you can, so you can monitor temperatures remotely and get an alert if the heat fails.
Give the Roof and Gutters Serious Attention
Snow and ice do not forgive a neglected roof. Before the first big storm, grab binoculars and inspect the roofline from the ground. Look for missing or curled shingles, damaged flashing around the chimney, and any sagging areas. If anything looks off, call a roofer early in the season before everyone else does.
Clogged gutters are the hidden cause of most ice dams. When leaves and debris block drainage, melting snow refreezes at the eaves, pushes water back under the shingles, and eventually leaks into walls and ceilings. Clear every gutter and downspout before snow arrives, and extend downspouts at least four feet away from the foundation so meltwater flows away from the house.
While you are up there, check the attic insulation. A poorly insulated attic lets warm air escape upward, which melts snow on the roof and makes ice dams worse. Industry guidance recommends an insulation depth that varies by climate zone, but in most northern regions you want a thick, even blanket across the entire attic floor with no gaps around recessed lights or vents.
What Should Your Winter Emergency Kit Include?
Even a well-maintained home can lose power during a blizzard. The best time to build an emergency kit is the week you move in, not the night the storm arrives. Store everything in one labeled bin in a closet near the main living area so you can grab it in the dark.
Standard moving tips focus on packing boxes and hiring movers, but preparing for a cold-weather power outage is just as important once you arrive. A basic kit should cover lighting, warmth, water, and communication for at least 72 hours. Think through the needs of every person and pet in the household.
- Flashlights and a supply of fresh batteries, plus a battery-powered or hand-crank radio
- Athree-day supply of bottled water and non-perishable food that does not require cooking
- Warm blankets, wool socks, hats, and sleeping bags rated for low temperatures
- A first aid kit with any prescription medications family members rely on
- Phone chargers, including a power bank already charged and ready
- Cash in small bills, since card readers may be down at local stores
- A manual can opener, matches in a waterproof container, and a multi-tool
- Pet food, litter, and any supplies for animals in the household
- Copies of important documents sealed in a waterproof bag
If the house has a fireplace or wood stove, keep seasoned firewood stacked and covered within easy reach of a door. A small generator can be a worthwhile investment, but only if you understand safe operation. Never run one inside the garage or near windows, and have a dedicated extension cord rated for the load.
Test Every Smoke and Carbon Monoxide Detector
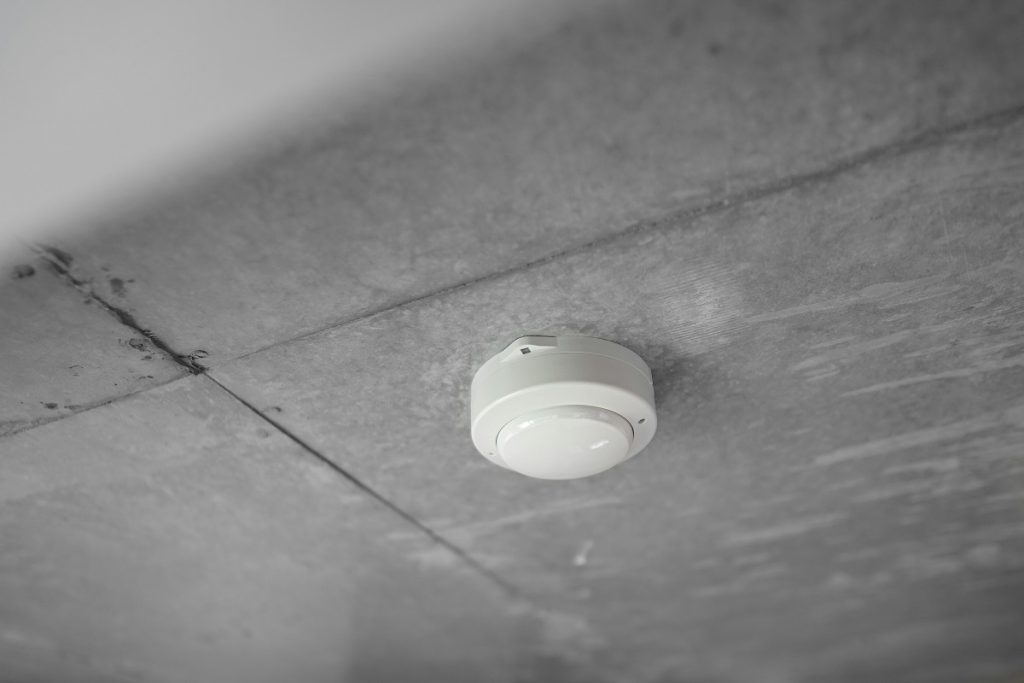
Heating systems that run around the clock raise the stakes on detector maintenance. Furnaces, water heaters, fireplaces, and space heaters all produce carbon monoxide when something goes wrong. A detector with a dead battery is worse than no detector at all because it gives false confidence.
Within the first few days, press the test button on every smoke alarm and carbon monoxide detector in the house. Replace batteries in any unit that does not sound immediately. Check the manufacture date printed on the back of each device. Smoke detectors generally need replacement every ten years, and carbon monoxide units every five to seven, depending on the model. If you cannot find a date or the units look dated, replace them outright.
Place at least one carbon monoxide detector on every level of the home and near sleeping areas. Kitchens and bathrooms call for specialized smoke alarms that resist false alarms from steam and cooking. Keep a few spare nine-volt and lithium batteries in a drawer so you never have to silence a chirping alarm at midnight.
Learn the Quirks of Your New House Room by Room
Every house has personality. One of the smartest tips for moving in winter is to spend an evening walking through each room with a notebook, identifying what feels cold, what sounds odd, and what might need attention before spring. Note which radiators are slow to heat, which windows rattle in the wind, and which rooms have the biggest temperature swings.
Pay attention to the basement. Musty smells can signal moisture problems that worsen when snow melts against the foundation. Check the sump pump by pouring a bucket of water into the pit and confirming it kicks on. If the house has a crawl space, inspect the vapor barrier and look for standing water or frost on pipes.
Build a Simple Maintenance Calendar
Spreading tasks across the season keeps any single weekend from feeling overwhelming. A rough rhythm that works for most homes:
- Week one: HVAC inspection, filter change, detector tests, shutoff valve check
- Week two: Draft sealing, pipe insulation, emergency kit assembly
- Week three: Gutter clearing, roof inspection, attic insulation review
- Monthly through winter: Filter check, battery check, visual plumbing inspection
- After each snowstorm: Clear vents for the dryer, furnace, and any high-efficiency appliances
Dryer and furnace vents buried under snowdrifts are a hidden carbon monoxide hazard. After a heavy snowfall, walk the exterior and clear a wide path around every exhaust and intake pipe.
Manage Snow and Ice Around the Foundation
Snow piled against the house looks harmless, but it holds moisture directly against siding and foundation walls. As it melts and refreezes, it can push into cracks and work its way inside. Shovel snow at least a few feet away from the exterior walls after storms, especially on the side of the house where the furnace and water heater sit.
Keep walkways and driveways clear with a mix of shoveling and ice melt. Rock salt damages concrete, kills nearby plants, and can harm pet paws. Calcium chloride or magnesium chloride products cost more but are gentler on surfaces. Sand provides traction without any chemical risk when the goal is simply to keep a path safe underfoot.
Watch the roof for heavy snow accumulation. Most residential roofs handle typical winter loads easily, but back-to-back blizzards can stress older structures. A roof rake with an extendable handle lets you pull snow off the lower edges from the ground, which also reduces the chance of ice dams forming at the eaves.
Settle In Without Burning Out
Post-move fatigue is real. After weeks of packing, lifting, and unpacking, the last thing most people want is another checklist. Give yourself permission to tackle maintenance in small blocks rather than marathon sessions. An hour on Saturday morning with coffee and a caulk gun gets more done than a resentful full-day push.
Involve everyone in the household. Kids can test flashlights and sort batteries into the emergency bin. A partner can handle the HVAC appointment while you tackle gutters. Breaking work into pieces also gives you time to notice what the house is telling you. A room that stays cold despite a new filter might point to a duct issue worth investigating before next winter.
Keep a running list of smaller projects for spring: exterior paint touch-ups, landscaping around downspouts, caulking you noticed but could not reach in the snow. Writing them down now means you will not forget when the ground thaws and the to-do list resets.
Final Thoughts
Moving into a new home during the coldest months is demanding, but the work you put in during those first few weeks pays dividends for years. A clean furnace, sealed windows, insulated pipes, and tested detectors turn a drafty unknown house into a warm, safe place that you actually trust. The goal is not perfection on day one. The goal is awareness, so that small issues stay small and winter surprises stay rare.
Treat the season as a chance to get to know the home on its hardest setting. If it stays warm, dry, and quiet through a February cold snap, you already know it will handle the easier months. Every draft you seal, every pipe you wrap, and every battery you replace is an investment in a quieter, less expensive, more comfortable life under this roof.
Pour yourself something hot, pull out the notebook, and pick one task from this guide to start with this weekend. By the time the snow melts, you will know the house better than the people who sold it to you, and the next winter will feel less like a test and more like a season you are genuinely ready for.